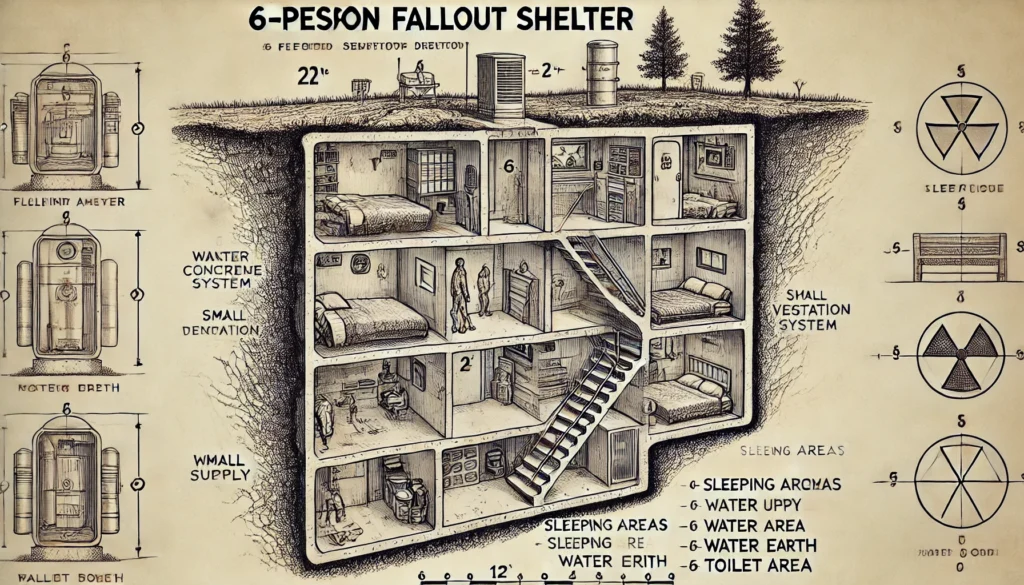
Building a fallout shelter is a serious and systematic project intended to protect in the event of a nuclear fallout. While modern geopolitical tensions are generally lower than during the height of the Cold War, constructing a fallout shelter is still an important precaution in case of radiation exposure disasters. Here’s a step-by-step guide to help you understand how to build a fallout shelter.
Step 1: Understanding the Purpose of a Fallout Shelter
A fallout shelter is designed to protect individuals from the harmful effects of radioactive particles that fall back to Earth after a nuclear explosion. Fallout consists of dust and debris irradiated by a nuclear blast, and exposure to high levels of radiation can cause serious health issues or death. The key is blocking as much radiation as possible, which requires using dense materials to absorb and deflect radiation.
Step 2: Location Selection
The first step in building a fallout shelter is selecting the location. Ideally, it should be underground or heavily shielded by dense material. Basements make an ideal starting place as they already offer some level of natural protection due to being below ground level. If you don’t have a basement, digging a trench or constructing a shelter inside a hill can also provide suitable radiation shielding.
When selecting a location, consider:
- Depth: The deeper your shelter, the better. Radiation decreases significantly with the thickness of the material between you and the fallout.
- Accessibility: The shelter must be easily accessible but not in a high-traffic or vulnerable area.
- Water and Drainage: Ensure there are no issues with flooding, and it’s beneficial to be near a clean water supply.
Step 3: Designing the Structure
The core of your fallout shelter is its structure. The design should focus on maximizing protection and ensuring sustainability for at least two weeks, the critical period during which radiation levels are highest after a nuclear event.
- Materials: You’ll want to use dense materials like concrete, brick, or packed earth. These materials will help absorb and deflect radiation.
- Concrete: A layer of 3 feet of concrete is recommended to block out 99% of radiation.
- Packed earth: An alternative is 3 to 4 feet of densely packed earth.
- Lead or steel: These materials are more expensive, but they offer excellent protection. However, they are not commonly used due to cost.
- Size and Layout: Your shelter should be large enough to accommodate your family or group for at least two weeks. Plan for sleeping areas, a toilet area, and storage for food, water, and other supplies. Adequate ventilation is crucial, but air filters must be incorporated to prevent radioactive particles from entering the shelter.
Step 4: Ventilation and Air Purification
Proper ventilation is essential for survival, as you’ll be spending extended periods underground. However, you must also ensure that the air entering your shelter is free from radioactive particles. A hand-operated air pump or a ventilation system with HEPA filters is ideal for maintaining air quality. Be sure to include a system for filtering air while allowing for fresh air circulation without direct exposure to outside elements.
Step 5: Water and Food Supply
You will need enough water and non-perishable food to last at least two weeks. It’s recommended to store at least 1 gallon of water per person per day. Storing water in sealed containers that are resistant to radiation is ideal.
For food, opt for canned goods, freeze-dried food, and other long-lasting non-perishables. You should also consider including a portable stove or another means of cooking food safely within the shelter.
Step 6: Radiation Shielding
The most important aspect of a fallout shelter is radiation shielding. The shelter must be surrounded by thick, dense materials to block or absorb radiation. You can use a combination of:
- Concrete: Provides excellent radiation protection.
- Packed Earth: One of the most cost-effective ways to build a shelter wall.
- Lead or Steel: Highly effective but more expensive options.
If the shelter is underground, the natural earth provides significant radiation protection. However, ensure that the shelter’s roof is also shielded with at least 2 feet of concrete or equivalent material.
Step 7: Emergency Supplies and Essentials
Apart from water and food, other essential supplies include:
- First-aid kit: Stock your shelter with medical supplies, including radiation sickness treatments (e.g., potassium iodide).
- Communication devices: A battery-operated radio to monitor news updates.
- Lighting: Store flashlights, batteries, or rechargeable solar-powered lights.
- Toilet facilities: A portable toilet or chemical toilet.
- Tools: Basic tools for repairs and maintenance.
Step 8: Entryway and Exit Design
The entrance to the fallout shelter should be designed to minimize exposure to fallout particles. A double-door system (like an airlock) can prevent fallout from entering the shelter when people enter or exit. Ensure the entrance is located on the side of the structure that’s least likely to be exposed to direct fallout.
Step 9: Psychological and Social Considerations
Surviving in a fallout shelter for an extended period can be mentally and emotionally taxing. Consider including items for entertainment and distraction, such as books, puzzles, or card games. If possible, have designated spaces for each individual to have some privacy and personal space.
Step 10: Staying Informed and Prepared
Once your fallout shelter is complete, it’s essential to remain informed about potential threats and practice drills. Conduct regular maintenance checks to ensure that the shelter is functional and stocked with supplies.
In conclusion, building a fallout shelter is a significant but worthwhile project that can protect you and your loved ones in case of a nuclear event. By following these steps and paying attention to location, materials, ventilation, and supplies, you can create a safe environment that offers long-term protection from radiation exposure.
No responses yet